
 Last Updated: August 2022 We released a "behind the scenes" YouTube Short where you can see our process for making our videos. It usually takes us about a month to make a regular content video. Details about the specific tools we use can be found below: How did you make your videos when you first started? When we started (in 2013), we only used a cell phone to record audio, Moviemaker (free) to edit our videos, and Microsoft Paint to illustrate. You can see our milestones here from when we first started. How do you generally create Amoeba Sisters videos (and comics and GIFs) now? For our videos, Pinky writes a script and records the audio of her reading it. Petunia takes the script to draw all of the individual images. Then, Petunia's individual images are timed to Pinky's audio in movie editing software. With enough pictures, we can sometimes time them close enough together to give an animated look, but we aren't using animating software. Drawing Software- Petunia has no artistic background, but she practices a lot. She currently uses the software Autodesk's Sketchbook for the illustrations that go into our videos and GIFs. All of the illustrations- for videos and for GIFs- are individual image files. Occasionally, Petunia uses a program called Procreate to make some of her comics as shown here in her speed draw. Drawing Hardware- It's hard to imagine (or maybe it's not ;P), but Petunia used a simple computer mouse to draw for a long time for a lot of our videos. As her drawings have evolved, she currently uses a Cintiq 22 HD drawing tablet by Wacom. This can be connected to her desktop computer. When on the go, Petunia can use a Microsoft Surface laptop or an iPad. Audio Software- Pinky still uses the free program Audacity to record. It works for both PC and Apple computers. While you don't technically need any audio software (we didn't in the beginning), it adds a lot of awesome features like cutting things out or removing background noise. Audio Hardware- Pinky currently uses this Yeti microphone that she connects to her laptop. She also made a "portable sound booth" to put her microphone in which we think has made a difference in our more recent videos. You can find a lot of instructions for making one of these online! Movie Editing Software- After wanting some extra features, we switched over to Camtasia, which we really like. Images drawn by Petunia and audio recorded by Pinky are placed into this program to make our videos. I notice you animate some portions of your videos. What tool do you use to animate? We don't really do any fancy animating. Our videos are a series of illustrations timed to audio, but when the illustrations are placed closely together with minor alterations, they can give an animated look. To do this, we create an image, save it, reopen it to make a slight change (such an image rotation or position change), save the new image, and repeat--- and we eventually end with a series of images that can appear animated once they are all put into a movie editing program in order. If trying this out, we would suggest naming your images numerically in sequence as shown below.  Reviewing? We have a resource that uses our GIFs in a powerful way! We think reviews can be great with visuals and questions- and these Google Slides use our Amoeba Sisters GIFs (animations)! Click the GIF below to access our "Biology Discussion Topics with GIFs!" These can make GREAT warm-ups and exit tickets, and they also can be powerful in facilitating discussion. Instructions on how to use and present it will be found in the second slide. Click the purple button below to access entire slideshow. Sorry, this GIF review is not set to allow for editing, but you can get the individual GIFs found in this slideshow to use in a different way. Visit our GIF page. Are you looking for a print-out? Scroll down at bottom of this post for a PDF copy. 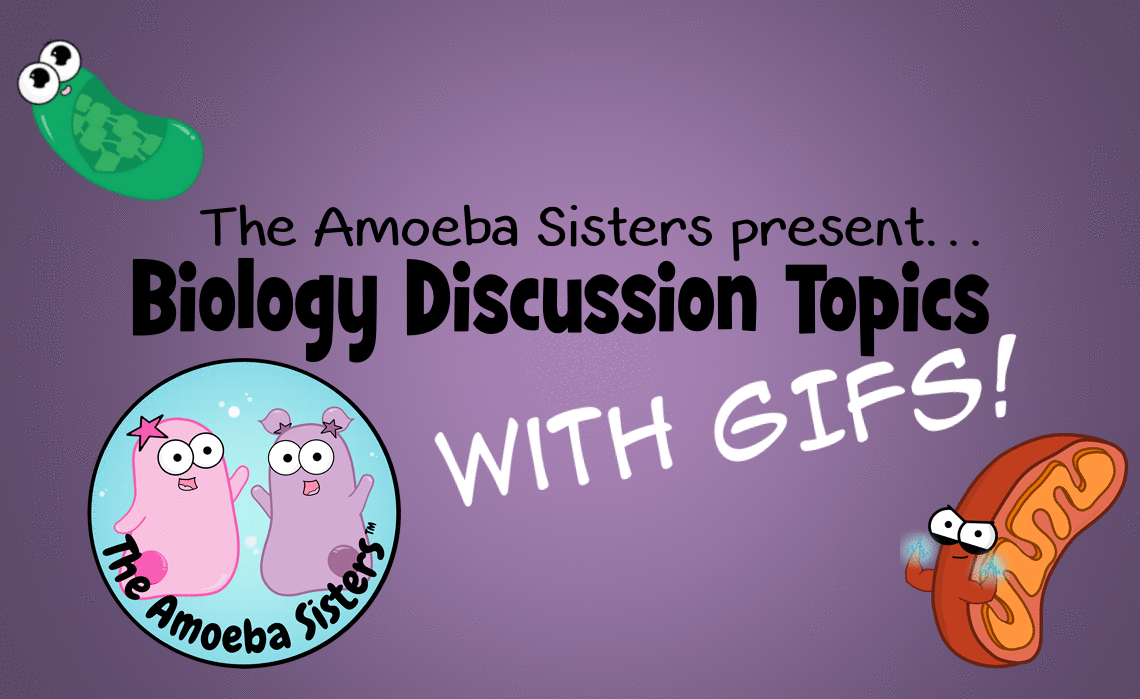 Click purple GIF button above to access. Due to GIF animations, this is too large as a PowerPoint. However, in Google Slides, you need only click "present" (at top right) to present it just like a slideshow. Do you need a PDF of the questions that can be printed? You can download it below. (Note: GIFs are not animated in a PDF. See our GIFs page to access individual GIFs.)
We're so happy to be on this list (check out this link for other great science suggestions on the Chromebook)!
One of us was at an awesome training today on Google Classroom, and the presenter mentioned a Chrome app for annotating on PDFs. Our immediate thought: this would also be fantastic in regard to our handouts! If you use our PDF handouts and want students to be able to annotate on them digitally, you need to try out Doc Hub.
Doc Hub is a free Chrome app that allows students to sign in with their Google account and easily annotate on a PDF! It's awesome. Here's a quick silent screenshot video showing how it works here (on our Twitter): https://twitter.com/AmoebaSisters/status/797801539574317056 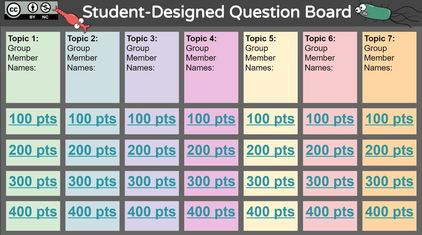 You probably have seen the awesome jeopardy inspired templates made and shared in PowerPoint or Google Slides by some AWESOME teachers online. These can be fun review activities. But have you considered having students design the questions? By asking students to design questions at different point levels, you are giving them an opportunity to think deeply about the content (designing high level questions can be a challenge) and the chance to be involved in classroom review activities. Sometimes it can be hard to facilitate this design on the typical template. We have a question board template that we created for Google Slides that we think will be useful, because it facilitates dividing up the work among the group and allowing them to work simultaneously. It uses an instruction slide, guidance text, and color coding to do this. One question board can be used by the entire class collaboratively. Please read the instruction slide within it which will walk you through the idea of how the board works. Amoeba Sisters Question Board: *Don't forget to click on this link to get a copy for each class period! Let us know what you think or ideas for how this could be better :) https://docs.google.com/presentation/d/18jDxZFVZMuXPS0zqBiHZvvlfxhwFE8FMk2OsqoRflL4/copy |
About This PageThis page features some of Pinky's favorite instructional technology websites, apps, online resources, response systems, and other tools. Please always read the terms and privacy policy of any technology tool that you plan to use in the classroom.
Disclosure? If we share a tool or website on this page, it's because we like it and find it useful. We don't have affiliate links on this blog. If we use affiliate links at any point on this blog, we will announce on the individual post. Topics
All
|
||